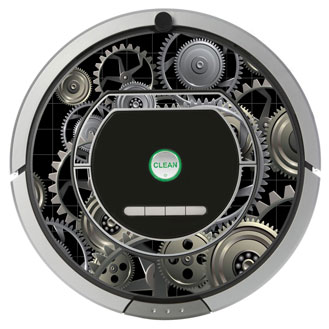

Assembly instructions for iTuning on Roomba 700 series
1-) clean your Roomba
 |
Clean the Roomba so that vinyl has a perfect adherence. If cleaned with a damp cloth, dry the Roomba before continuing. |
2-) install the central parts of the handle and faceplate
 |
Carefully take off the part of the handle. |
 |
Gently place it centered, leaving about 2 mm around. If you make a mistake, you can peel it carefully and reattach it. It is important that when you start to stick, keep a distance proportional. |
 |
Little by little, paste the entire piece. |
 |
Now the bottom of the handle. |
 |
Also focusing to 2 mm. |
 |
And little by little until the central part |
3-) Prerar vinyl for placement
 |
Now, we have to leave just the round part of the vinyl to be able to focus the adhesive correctly. To do this, our vinyl bring a cutting factory. |
 |
Turn to the vinyl and separates the circular part, helping you cut that brought from factory. |
 |
Now, with cut vinyl, we shall proceed to take off the top to exceed about 5 cm above. We want to make clear one part of the adhesive to thus be able to fix it once it have centered. |
 |
We bend the paper conveyor so it doesn't bother us in the centering. |
 |
Put the vinyl on the top of the Roomba with care of non-stick with the part, the part which we have cleared to fix once have all focused. The distance to the edges is of approximately 4 mm. We focus the vinyl, so it is equidistant everywhere (4 mm approximately). If in spite of having city, sticking to the top, don't worry, you can peel it with care and try to center it again. |
4-) stick vinyl toyour Roomba
 |
Once you have centered the vinyl in your Roomba, hits the top so no longer it moves. Then already that the vinyl centered and fixed, proceed to stick with comfort the rest of adhesive. |
 |
With vinyl already fixed and focused, we proceed to go sticking by the sides, alternating 5 in 5 cm each. With transverse movements. Do not remove completely the role transporter. The vinyl is very adhesive and will stick you everywhere leaving bubbles and wrinkles. |
 |
With the vinylor already fixed and focused, we proceed to work on the sides, alternating 5 in 5 cm each. With transverse movements. Remember to not remove completely transported. See removing it little by little as you're sticking vinyl. |
 |
When you've already arrived almost at the end, you can completely remove the paper conveyor.
|
 |
Glued vinyl inside out, with movements transverse, as seen in the photo. Be careful that it does not stick the outer part. Ve advancing from the inside of the circle out making a light pressure with the finger. |
 |
Glued vinyl inside out, with movements transverse, as seen in the photo. Be careful that it does not stick the outer part. Ve advancing from the inside of the circle out making a light pressure with the finger. |
 |
Now there are more only the reliefs. Paste them making a light pressure with the finger, transverse movements, always starting from the top. Begins with the part back in the tank. |
 |
The same thing with the relief of the handle. Paste it making a light pressure with the finger, transverse movements, always starting from the top. It prevents that bubbles. If you see that it is not quite right, you can carefully detach and reattach. |
 |
And finally, the relief of the sensor. Paste it making a light pressure with the finger, transverse movements, always starting from the top. It prevents that bubbles. If you see that it is not quite right, you can carefully detach and reattach. |

