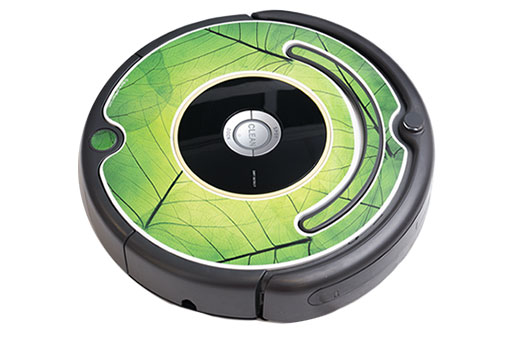
1-) clean your Roomba
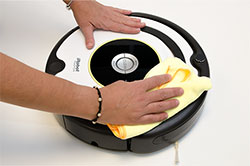 |
Clean the Roomba so that vinyl has a perfect adherence. If it is clean with a damp cloth, allow to dry the Roomba before continuing. |
2-) cut vinyl
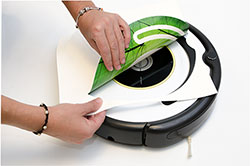 |
Use the cut that comes from the factory to cut vinyl. If the backing paper is not perfect, it's not problem... |
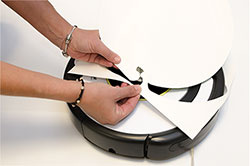 |
The portion of the tank is a little more delicate. You must be careful with this part. Then we will need to help us take off vinyl. |
3-) focus the vinyl for placement
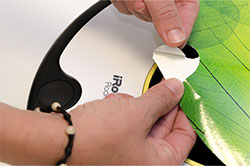 |
It depega the circle of the deposit. |
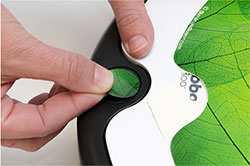 |
Place the circle on the deposit button. |
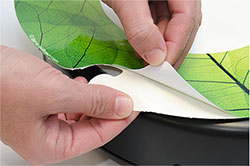 |
Take off the vinyl on one side (3cm approximately). |
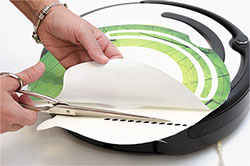 |
Cut some supporting role. Look at the image. |
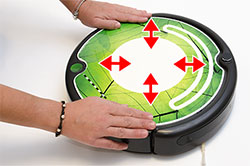 |
Place the vinyl up your Roomba. Center it with care not to tighten in the part of vinyl has been supporting role. |
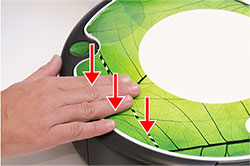 |
When you have the vinyl centered, press on the side that has no role. Get vinyl locks to make the final gluing. |
4-) glue the vinyl to your Roomba
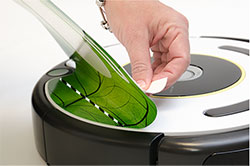 |
It separates the backing paper slowly. |
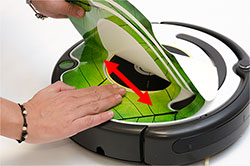 |
It separates the backing paper and view sticking vinyl very slowly. To avoid bubbles appear, you must advance in bonding to you happening the backing paper. If you aprita gently, to avoid the appearance of bubbles. If any bubble, you can peel a bit of vinyl and reattach it. |
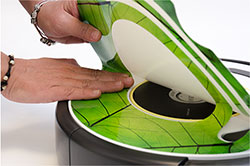 |
Do not over-tighten. Go peeling off the backing paper while we are sticking the vinyl. |
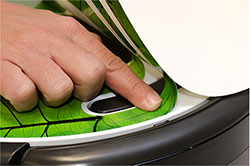 |
Glue over the top of the handle. Do not glue at the bottom of the handle. We will make this work then. |
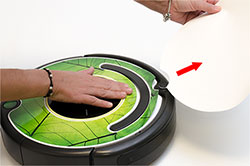 |
Remove the backing paper. We will now focus on the narrow part between the handle and the sensor. |
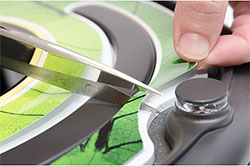 |
This is the trickiest part. To prevent wrinkles and bubbles, cut with scissors the narrow part of the vinyl. |
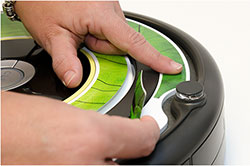 |
Once cut vinyl, first paste a part and then the other. |
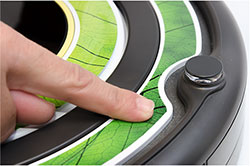 |
We do match the first part. If mounted happens nothing, it is not noticed. If it does not, we can stretch a little vinyl. The vinyl is a flexible material and ready. |
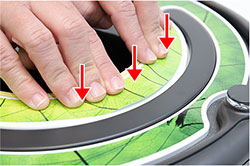 |
To paste the bottom, we do lightly from the center of the robot to the handle. With slight pressure, drag fingers from the center of Roomba to the handle. If any small wrinkle, this can conceal by pressing with the fingernail. |
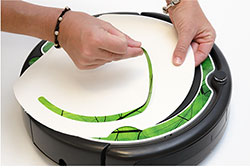 |
We took off the handle that has been in the paper support. |
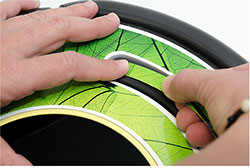 |
We put the vinyl on the handle and we will by pasting it from one end to the other. We pressed with a finger, and maintain tight to stick. |
